Building an Interactive CLI Chatbot
One of the biggest mistakes developers make when learning a new technology is focusing only on adding features. Real software evolves through refactoring just as much as it evolves through new functionality.
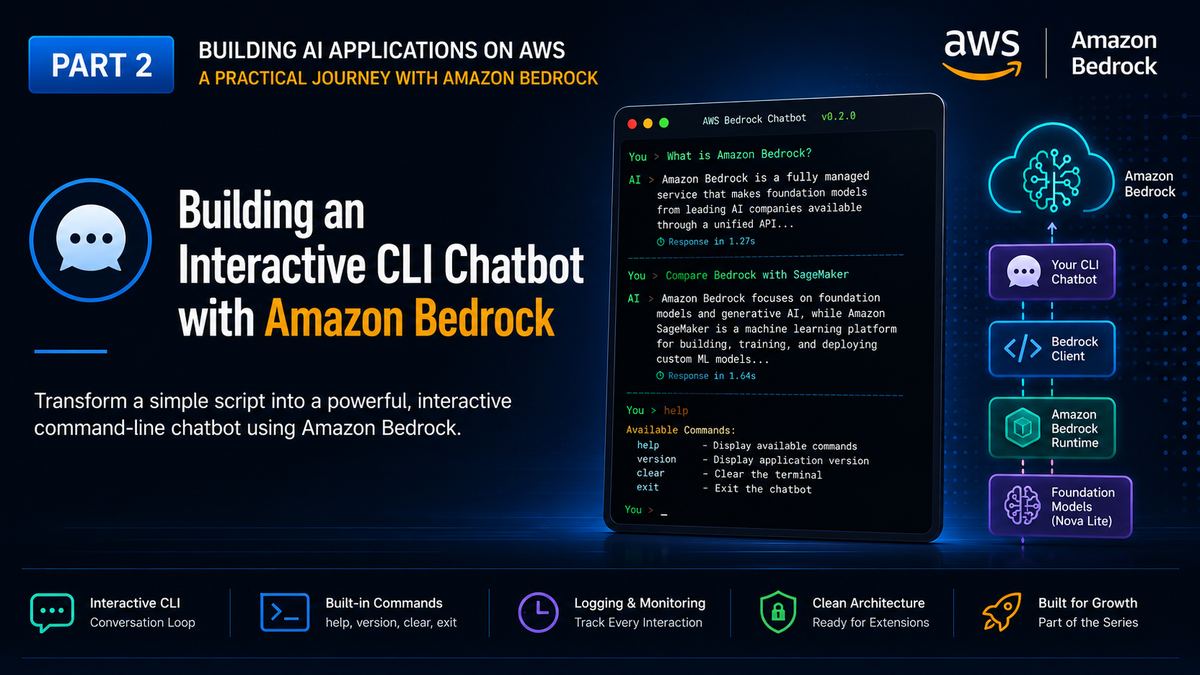
"Getting code to work is only the beginning. Good software is about designing for what comes next."
📘 Series: Building AI Applications on AWS
In Part 1, we proved we could communicate with Amazon Bedrock. In this article, we're going to transform that proof of concept into the foundation of a real application.
We'll take our first step towards building a real application by introducing an interactive command-line interface (CLI). Along the way, we'll refactor the codebase, improve the project structure, add logging, and introduce software engineering practices that will make future enhancements much easier.
By the end of this article, we'll have an interactive chatbot that is ready to evolve with conversation memory, streaming responses, and additional AI capabilities in the coming parts of this series.
Why Refactor?
One of the biggest mistakes developers make when learning a new technology is focusing only on adding features. It's tempting to keep extending a working script until it becomes difficult to understand or maintain. Instead, I prefer to pause after every milestone and ask a different question:
"If I had to add five more features tomorrow, would today's design still make sense?"
For this project, the answer was no, so before adding conversation memory or prompt templates, we needed a stronger foundation.
What We're Building
The goal for Part 2 is to transform our proof of concept into an interactive chatbot that:
- Runs continuously until the user exits.
- Accepts multiple prompts in a single session.
- Supports built-in commands such as
help,version,clear, andexit. - Records application activity through structured logging.
- Separates business logic from AWS-specific code.
Although the visible changes are relatively small, the improvements to the application's architecture are significant.
Project structure
As the project grows, the folder structure evolves alongside it. Compared to Part 1, several new modules have been introduced:
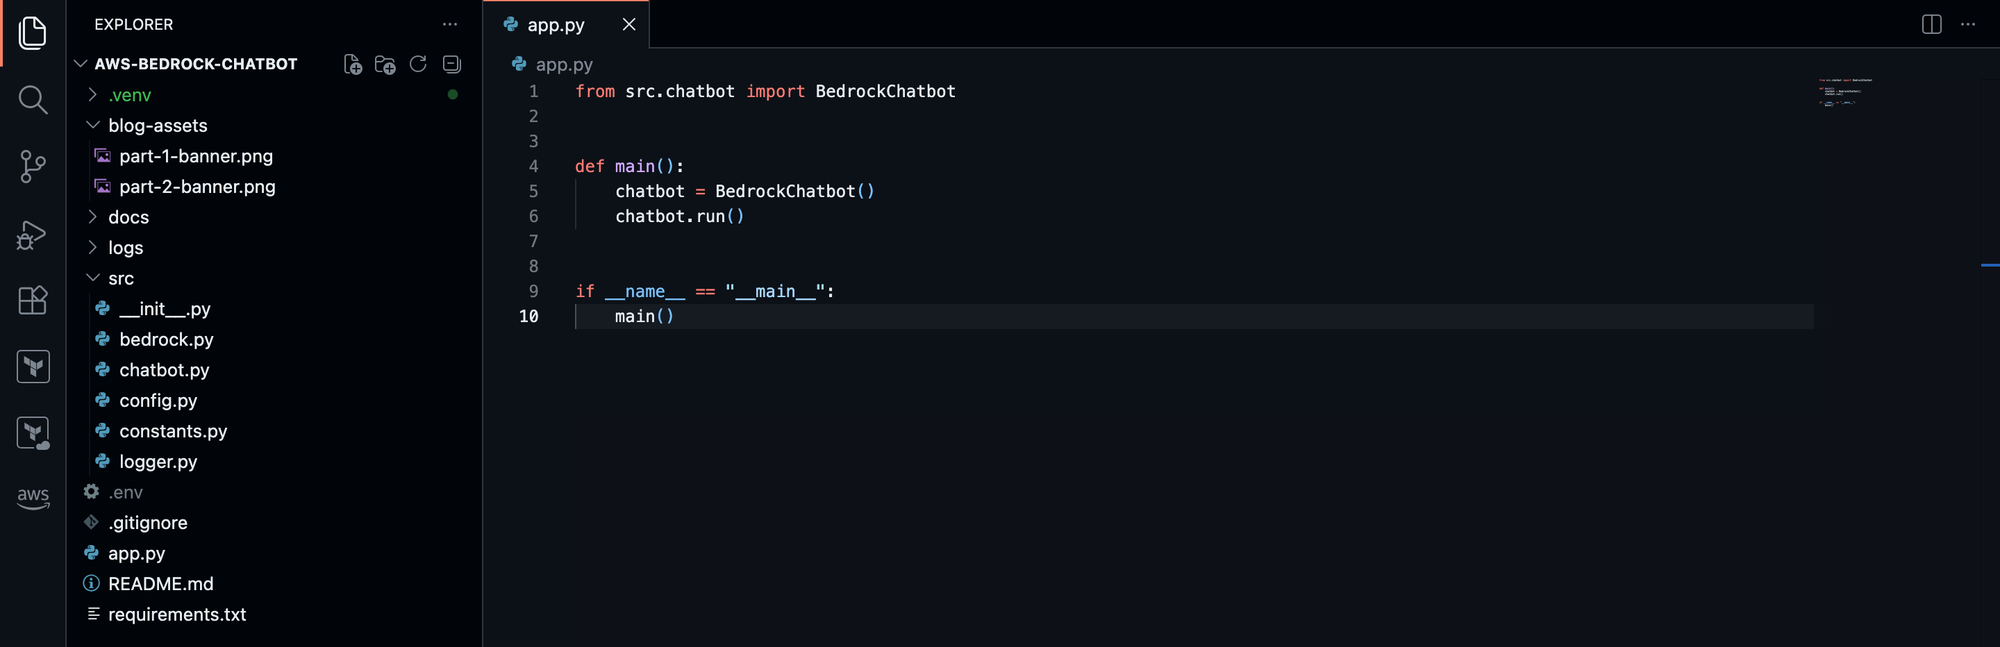
Rather than keeping everything inside app.py, responsibilities are now distributed across dedicated modules. This makes the application easier to extend and easier to test.
Building an Interactive CLI
The chatbot now remains active until the user explicitly exits as this creates a much more natural conversational experience compared to repeatedly restarting the application for every prompt:
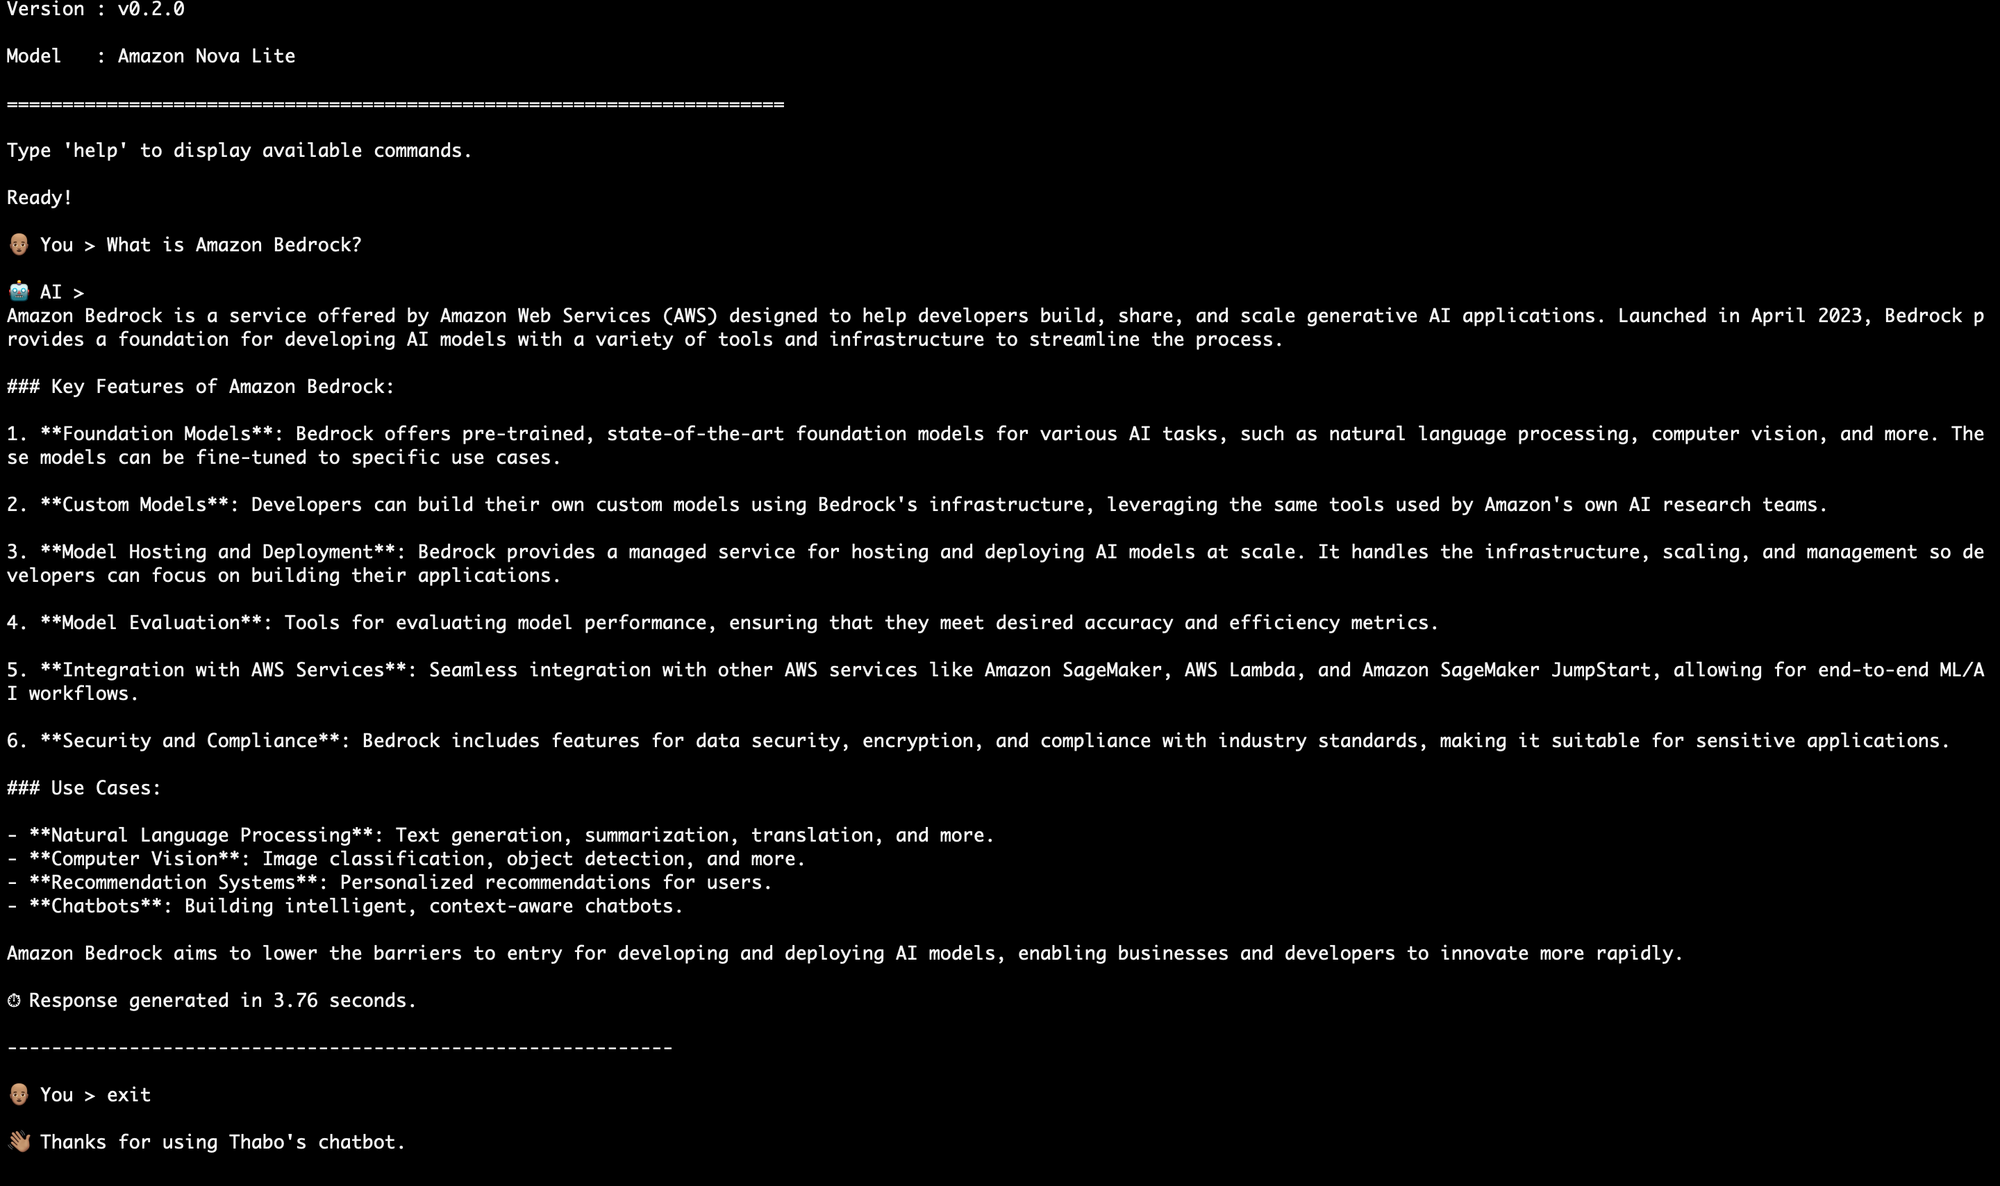
Alongside the conversation loop, several built-in commands were added:
version | Show the current application version |
clear | Clear the terminal |
exit | Close the chatbot |
Although simple, these commands make the application feel much closer to a production CLI tool.
Looking Like a Production Application
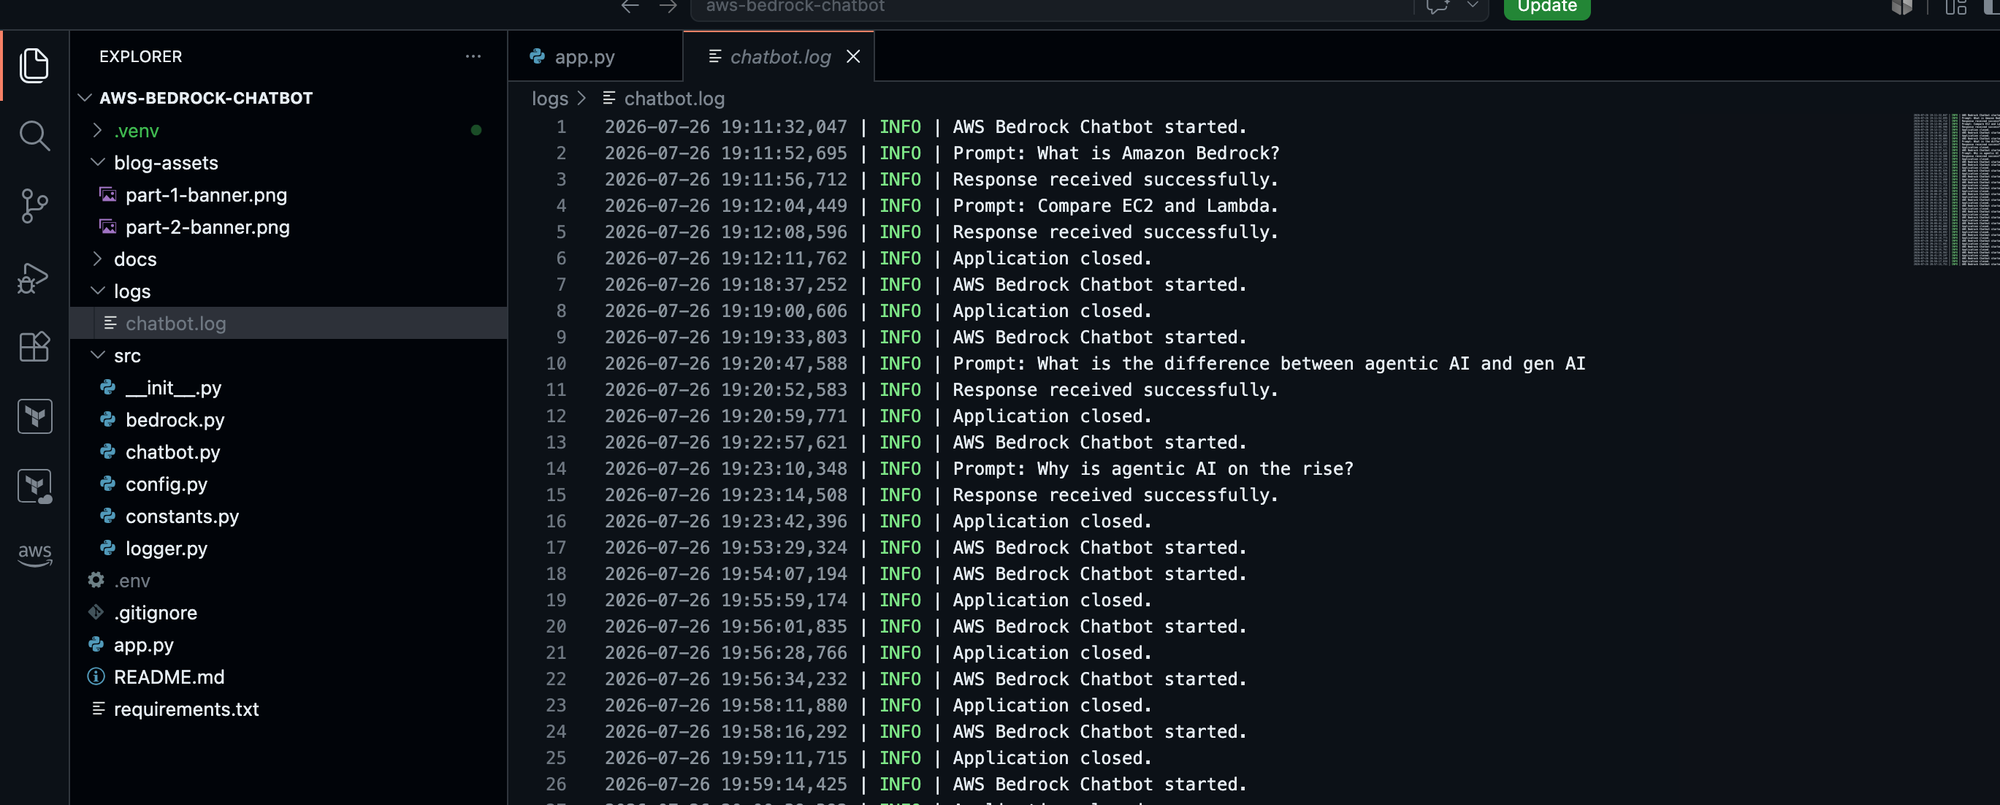
Another feature I wanted to introduce early was structured logging. Rather than relying on print() statements for debugging, the chatbot now records important events to a log file. This includes:
- Application startup
- User prompts
- Successful responses
- Exceptions
- Application shutdown
Logging is often overlooked in learning projects, but it becomes important when diagnosing issues or understanding application behaviour:
Centralised Configuration
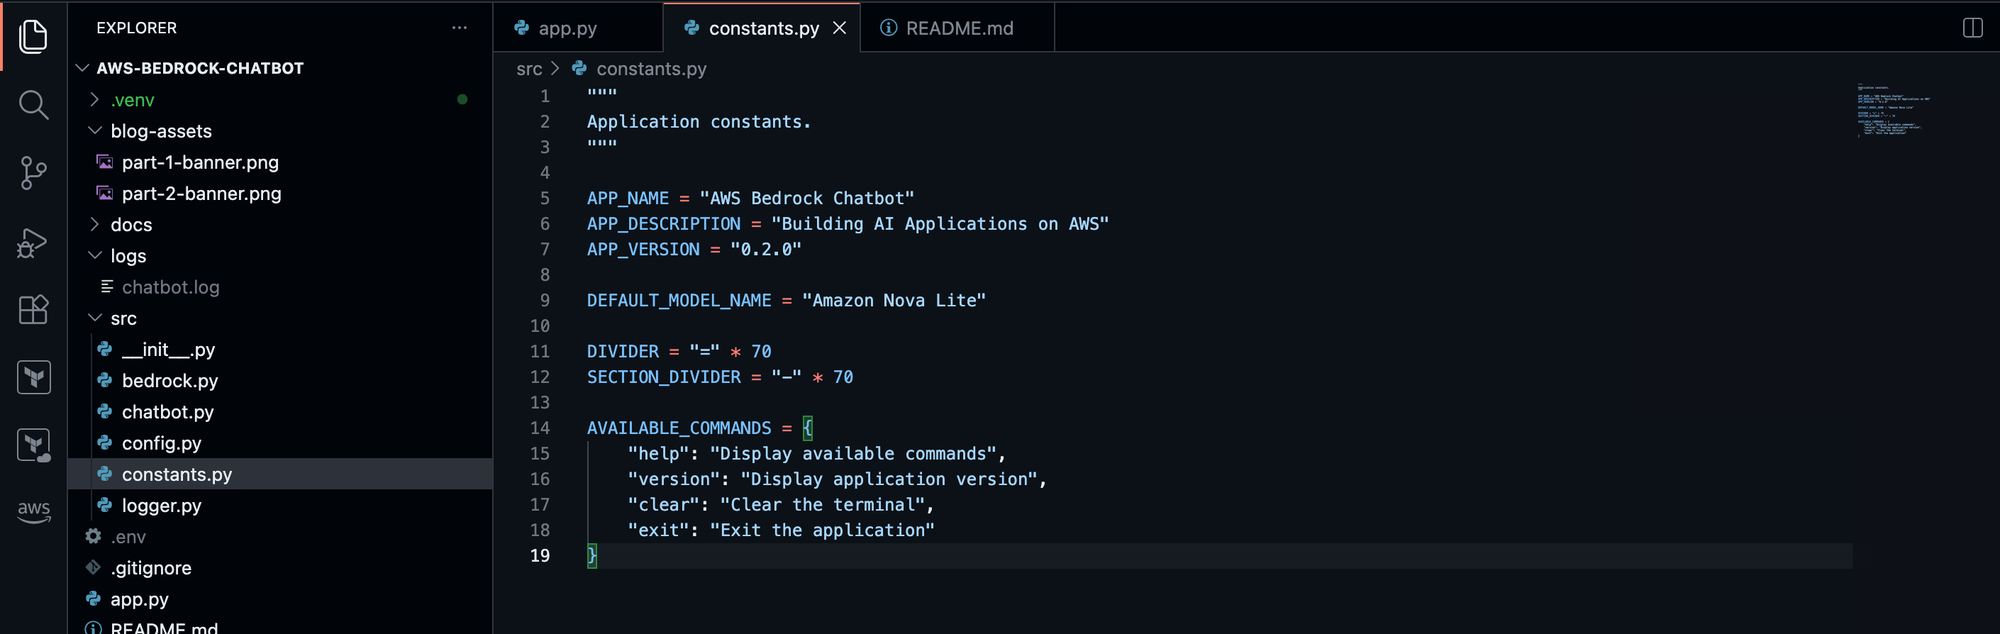
As the application continued to grow, I noticed more values being repeated throughout the codebase. Instead of hardcoding application details in multiple places, I introduced a dedicated constants.py module. This centralises information such as:
- Application name
- Version
- Default model
- Command descriptions
- Display formatting
Keeping these values in one place makes future updates much simpler and reduces duplication.
Lessons Learned
One of my biggest takeaways from this milestone is that software engineering isn't just about writing code that works. It's about writing code that can evolve.
Refactoring isn't a sign that the original solution was wrong, it's a natural part of building maintainable software.
Sometimes the most valuable feature you can add to a project isn't another capability—it's a better design.
Source Code
The complete source code for this article is available on GitHub
Repository: https://github.com/thabo-lebelo/aws-bedrock-chatbot
To ensure the code matches this article exactly, check out the corresponding Git tag (v0.2.0) when following along.
What's Next?
Our chatbot can now hold an interactive conversation, but every prompt is still independent.
The model has no memory of previous interactions.
In Part 3, we'll solve that problem by introducing conversation history and context management, allowing the chatbot to respond more naturally across multiple prompts.
See you in Part 3.